
Here's some video of the Klee sequencer in action. Along with details on finishing up from previous posts. Continued from
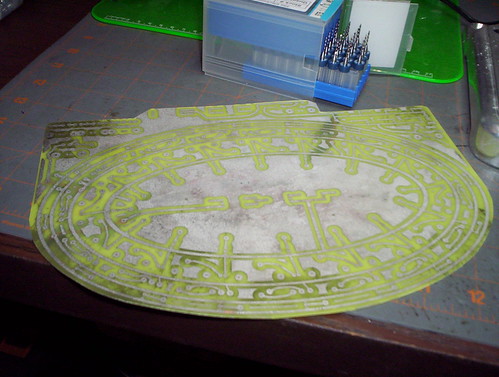
So we left off with a PCB ready to go. I used my trusty tin snips to cleanly cut off the excess board. It's a tight fit underneath the panel.
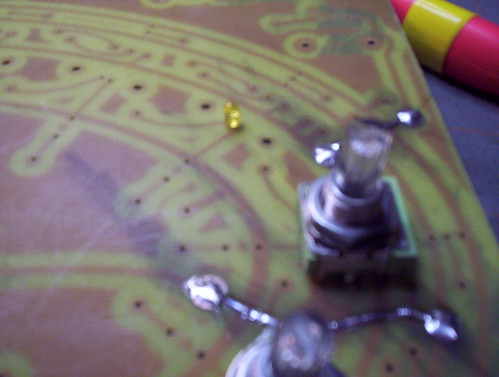
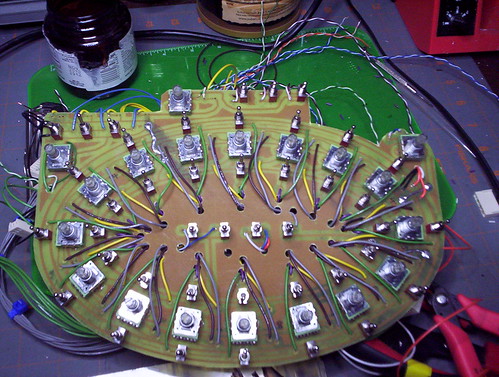
You can't really see it too well in this photo, but there's an LED soldered onto the board. A clear-shaft potentiometer goes over the LEDs. So the pot you see there already has an LED underneath it.
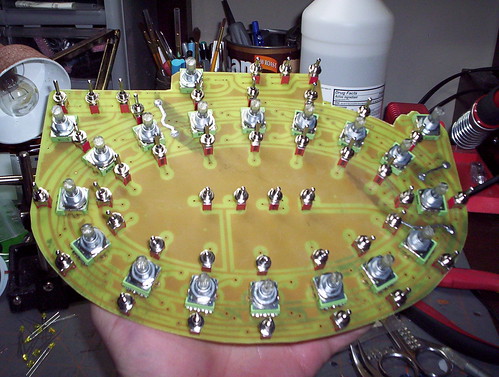
Here's the PCB with all the LEDs, pots and switches soldered in.
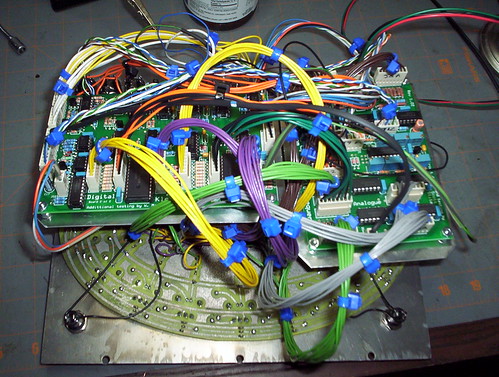
Whoops forget something here. Because the top traces would quickly run over each other.. And because I need to run wires to the main PCB anyway.. I'm running wires off this board back to the PCB. Rather than running on these wires out the side, I've drilled some holes to thread them through the center where there is ample room.
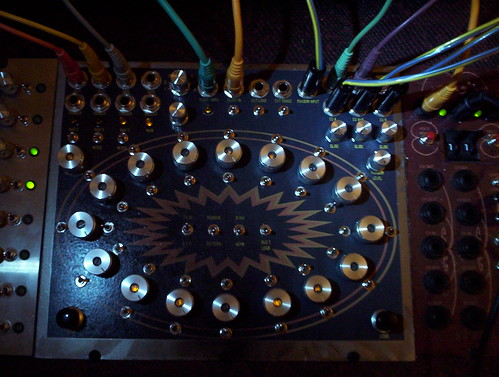
Here's the crazy mess from the back.
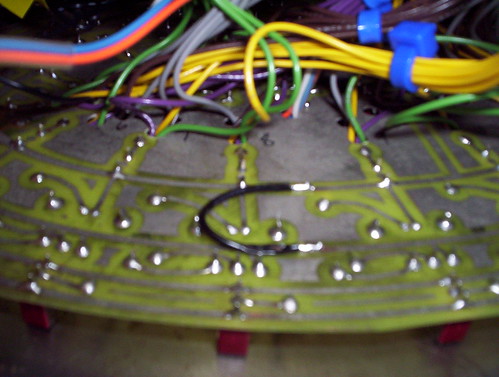
I started testing and sure enough I had plenty of screw ups. Lots of pots wired backwards. Lots and LEDs going into the wrong connector ends. A pinched cable inadvertently, grounding to the panel... The usual stuff! But one thing I missed when making the PCB was to connect my inner grounding bus to the outer. So the inner grounding bus was actually floating, causing all kinds of bizarre issues! Here's the quick fix.
So my initial idea was to leave the clear shaft potentiometers exposed so they'd light up. But the small LEDs diffused too much light to my taste. I picked out a fairly high lumen value for these LEDs, but you never know until it's done. However, it gave me an idea to salvage some aluminum knobs from another project!
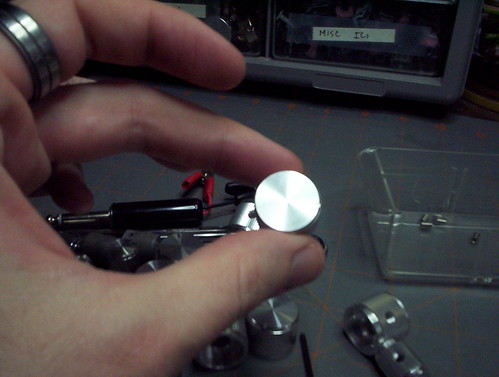
Slap on a 1/4" bit, place them up against a piece of MDF and bore out the centers!


And here's the finished panel! The inkscape layers matched up so precisely, it took a little work to get the PCB flush with the drilled out panel. But it works and it looks great! Fun to play too.
This is very cool. I need to see one of you shows!